How to give your text a

This tip uses plug-ins from the net, if you don't have them you're probably out of luck. Make sure you have:
Let's start out with some familiar text in the Frutiger font, 100 pixels, anti-alias 3:
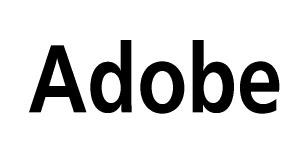
1) A well known building material
Let's give this text a green halo...we want to get a blurry (hint hint) outline around the font of a particular color. Let's Gaussian Blur this text at 5.0 and Invert it:
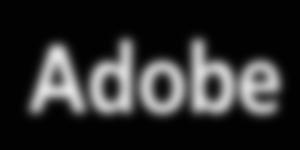
2) The start of a blurry outline...
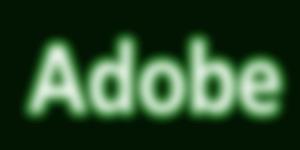
Well, we've got the text, and we've got the outline, but that's too boring to combine just yet...let's run a Contrast Autostretch on the image, and then change the Green gamma with the BCG filter:

3) Contrast Autostretch and increased Green gamma (about 1.9)
Why did we Contrast Autostretch the blurred image? Well, let's take a look at what Contrast Autostretch does...
Contrast Autostretch looks at the range of colors in an image, and analyzes it. On a channel-by-channel basis, it takes the dimmest color and turns it black, and the brightest color and turns it white, and adjusts all the colors in between to fit the new high/low range. The reason we did it on the above image is because when we Gaussian Blurred it, the black areas became very dimly gray...and when you apply a Gamma adjustment to gray, you get this result:
3a) Not exactly what we want.
Since Gamma has no effect on purely black and purely white pixels, running the Contrast Autostretch blackened the dim gray to a pure black, and gave the effect we wanted.
Now, let's join 1) and 3) together with a quick Multiply:

4) Our text has been made radioactive!
So there you have it, quick and dirty effects for a quick and dirty world...
Happy GIMPing!
Zach