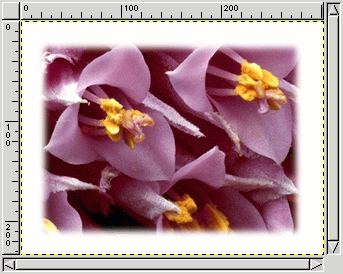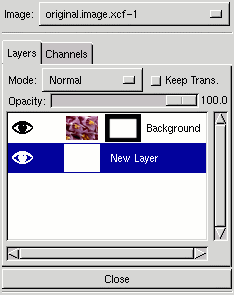

Finally, when you've chosen the effect you want, you can add your custom background. Right-click on the word "Background" in the Layers & Channels dialog, then select "New Layer." For the layer fill type, check the "White" option.
Next, right click the text that says "New Layer" and select "Lower Layer" from the menu. Voila! You have your image fading gently into the background. If your webpage has a different colored background, you can use the bucket fill to change the color in the lower layer.
 |
 |
To save the image, use the Layers > Flatten Image option. Then, you can save your image as a JPEG. If you wish to save as GIF, be sure to convert to indexed color using Image > Indexed.
Happy GIMPing!
Oh...did you like this tutorial? If so, drop me a note... :)
| < Back | Intro | Step 1 | Step 2 | Step 3 | Step 4 | Final | Next > |