
In the layers dialog, right click on the top layer's name. From the menu that pops up, select Add Layer Mask. In the Add Layer Mask dialog, click Ok to take the default settings.
The layer mask is the white box that appears to the right of your layer thumbnail. With the layer mask selected (it will have a white outline around it), use Edit > Paste in your main image window.
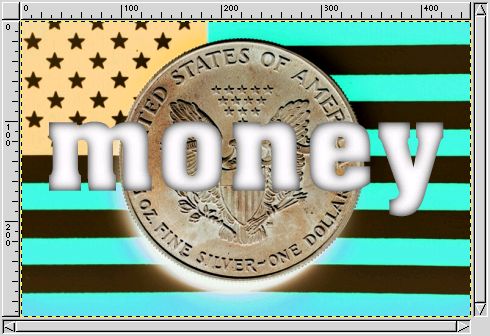
Whoa! Cool! Our background image is back! Where did our black and white text go?
Well, if you look closely at the Layer Mask in the layers and channels dialog, you can see that wherever it is black in the mask, our background image shows up, and wherever it is white in the mask, the text layer shows up. This is, in effect, hiding the parts of the text layer that we don't really care about.
However, it's still not quite what we want to see.
| < Previous | Intro | Step 1 | Step 2 | Step 3 | Step 4 | Step 5 | Next > |