Untitled-1.0 (U1 for short)
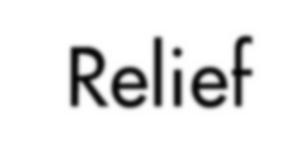
Below is some nice Futura text, size 100, anti-aliased with a value of 3:

Untitled-1.0 (U1 for short)
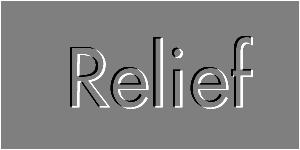
This text is boring. It's flat. We want the illusion of depth here! There are lots of great ways to add depth by using Offsets and Blends, but let's keep this quick and dirty...let's Duplicate the text, apply the Relief effect, and then Invert it. This creates some quick highlights and shadows:

U2 (not to be confused with the band)
Of course, this text is still pretty useless...the contrasts are too sharp, and the 3d effect is just not happening. What would really make this better is if we could soften the edges a bit...and perhaps Composite it into a texture...(this is called foreshadowing...)

U3 (your general purpose texture)
What we need to do is composite U2 and U3 with a mask that softens U2 and blends them together so that the contrasts are still there, just not as sharp. What we can do is create a mask out of U1 with Duplicate and Gaussian Blur at about 2.0 pixels:

U4 (a nice soft mask)
Why do we blur the mask? Blur takes the edges of the text, the areas of sharp contrast, and turns it into many graduated levels of gray. Using this as a mask causes the two images we are Composing to flow together in more subtle transitions, without jumping starkly from one image's pixels to another. So now we have all the elements: A mask, a texture, and some highlights and shadows. Let's Composite them as follows:
First Image: U2
Second Image: U3
Mask: U4
The results are very spiffy, and have a good illusion of depth for very little work:

U5
The key points:
Happy GIMPing!
Zach